


Model Railways
Laying The Track
Basic Guide To Track Laying Here's our first guide, and its on one of the first things that you should do with your track, lay it.

1 - Plan the layout of your layout:
Lay the track in the approximate place making sure to line up the ends of the track, so that you get an idea of where the track will lead.
This track is lined up correctly

This track needs straightening to reduce errors in lining up. The error is exaggerated just to highlight it.
They don’t have to be exact, but as you go round small errors will build up to make a HUGE error and if you have points the track will not line up.

Here you can see me digging out the trough that the track will sit in.

2 - Make the track base:
Once you have dug out all of the track locations, you have two options.
- 1. You can either fill the trough in with cement all the way around (I’d recommend a 4/1 – 6/1 mix, it doesn’t need to be strong its just there to stop weeds and make sure that the base is level.)
- 2. You can use weed proof membrane on top of the soil using a bit of sand to level it out.
The weedproof membrane which we later replaced in favour of cement.

As you can see we chose option number 2, which is perfectly fine, but with hindsight, I’d recommend option number one. We decided to make a cement bed and had to take up all of the track. The cement bed only needs to be ½ to 1 inch thick.
3 - Check Gradients:
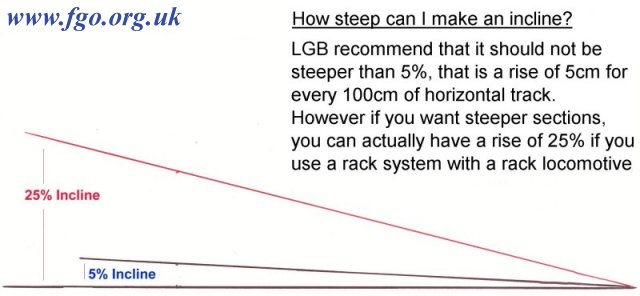
Standard G scale engines can’t climb a slope greater than 2.29 degrees. This method will come in handy if you want the track to cross a bridge and the bridge isn’t level with the track base. If you have inclines and don’t know how to check the angle then you can use any scientific calculator (or even the calculator built into your computer). Make sure that the calculator is set to work in degrees (deg) if it isn’t then the computer calculator is easy to change. However a scientific calculator maybe harder to change, if it isn’t your calculator (children are quite intelligent thesedays).Anyway back to the checking. Measure the change in height and length of the track that the change is over.
Ok now that you have your measurements get the calculator and do the following sum
Tan-1 (H/L) the answer that you get is ?. If ? is larger than 2.29 then your incline is too steep. Just in case you didn’t get how to do that.
- 1) Divide H by L
- 2) Use the Tan-1 function on the answer (usually by pressing shift or 2ndf then tan, then the “ans” key). If the answer is bigger than three then the incline is too steep. If you can’t figure out how to use the Tan-1 function then go to step 3.
- 3) Divide the height by the length (H over L), and remember it. Then do Tan 2.29, then compare the answers as above. I’m being generous and am putting an approximate value of Tan 2.29 here (Tan(2.29) = 0.03998933572) Only use the first 2 or three decimal places (0.040), and give yourself a reasonable margin for error.
4 - Connect the track:
Go round connecting all the track together using which ever track fixing method you have. Peco track just joins by sliding the fishplates on. Aristocraft track has screws for the fish plates.
Peco is easier to use, but isn’t as stable as Aristocraft track. Aristocraft track is made of brass and so I high quality, however the screws that are used to tie the pieces together are small and easily lost, but you don’t have to use them. We use Aristocraft track.
5 - Power supply:
Once you have selected your power supply (please keep watch on the site for an upcoming guide to power supplies) you can either follow the manufacturer’s instructions, or follow them with a slight modification from me.
If the ideal place for your power supply (PSU) happens to be far away from the track then don’t worry about having to put the PSU in the shed, or building a water proof box for it outside somewhere. Just get hold of some 13A mains cable, and a couple of ring connectors (Maplin product code JH60Q). Crimp the connectors to two stripped ends of the cable. If you are not confident with electrics than ask an expert. Using Terminal Strip (chop-block) (Maplin product code HL54J) connect the other end of the cable to the end of the cable coming from the output of the controller. Make sure that if you are using terminal strip that the terminal strip is housed indoors, if you want the connection to be outside either get hold of a water proof box (IP56 rated) or a water proof connector.
Here you can see the mains cable bringing current from the PSU to the track as it hides behind bricks.

6 - Your first run:
Now its time to check that you have connected everything up correctly. The first thing that you should do it a visual inspection of the track, to make sure that the pieces are all joined up, you don’t want your first run to end in a mud covered engine. After the track inspection, check the points (if you have any) and make sure that they are in the correct position.
Now you can place your engine on the track, but make sure that the PSU isn’t turned to full speed. Start the engine off slowly, letting it do a few runs to make sure that the track is level, and not been damaged in any way. Then you can gradually turn up the speed. If all goes well then you have succeeded in your first attempt to build an outdoor 45mm railway.
If you have any problems or want any further information please This email address is being protected from spambots. You need JavaScript enabled to view it.
Published 17/10/2002
LINKS TO:

